My First Real Residency!

I'm thrilled to be invited to Anderson Center for the Arts for a two-week time for intense creative work! I'll be dedicating the first two weeks in May to continuing the Inclusion/Exclusion series. I'm looking forward to the use of an etching press, the extensive outdoor grounds for wandering, and the inspiration of a diverse cohort of artists.

For several years, I've designated a 2-3 week period every summer to focus on a specific project, such as exploring natural dye. These happened at my summer studio and home in northern Wisconsin. However, I still had visitors, family, and my 2 dear old kitties to distract me. This time, I will be alone, and yet together with the musicians, writers, and a few other visual artists I have yet to meet.

Since this is a very special gift of time and space, I will be offline for the most part. Look for a report later in May!

For more information about artist residencies, see here.
Indigo: some tips and tools

If you feel enticed to have your own indigo vat, I'm happy to share a few tools that I use, and offer some basic tips. If you're a beginner, see the great instructions from Maiwa, and then read every entry in Catharine Ellis' blog (at least twice).

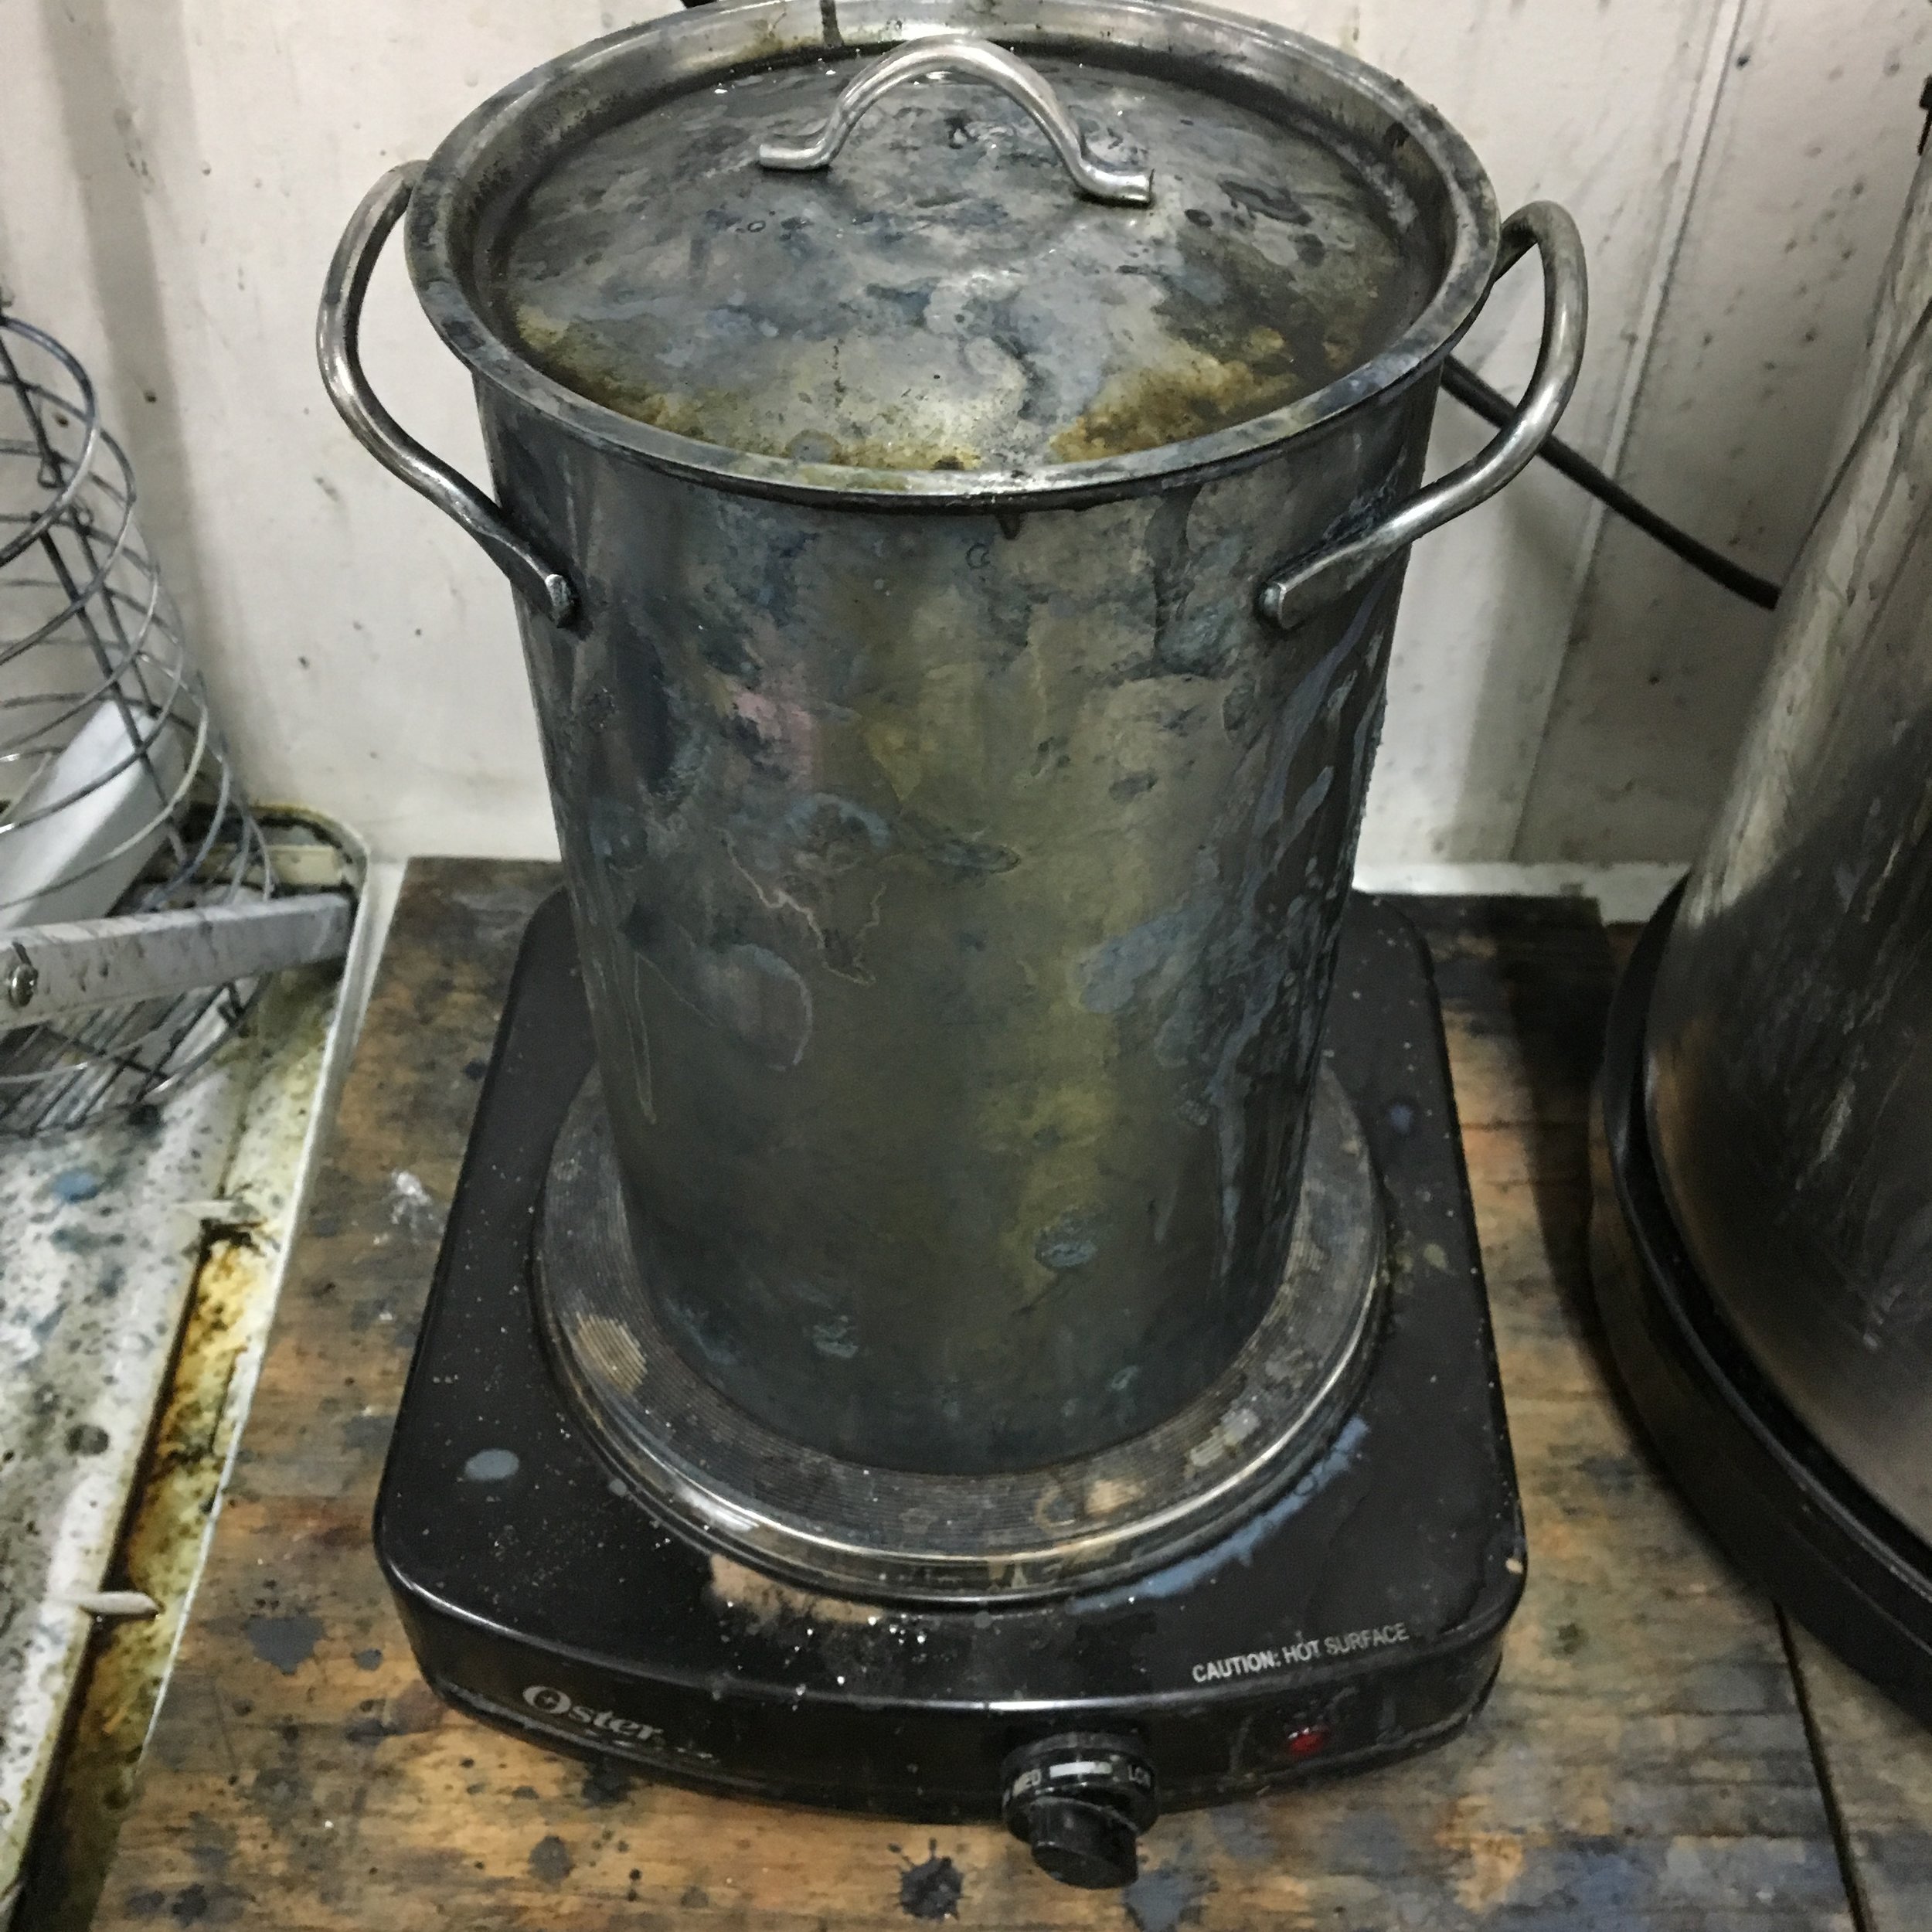
For a small 1-2 liter vat, get a tall, stainless steel asparagus pot with a strainer, or a 2 liter jar.

IMG_5755.JPG

Then find a meat baster, a thermometer (preferable Celsius and Fahrenheit). The baster is useful for checking the color of the vat, if your container isn't clear glass.

Color of a henna vat should be this gold found under the surface.

Color of a henna vat should be this gold found under the surface.

For a larger, 15 liter (3 gallon) or 30 liter (6 gallon) vat:

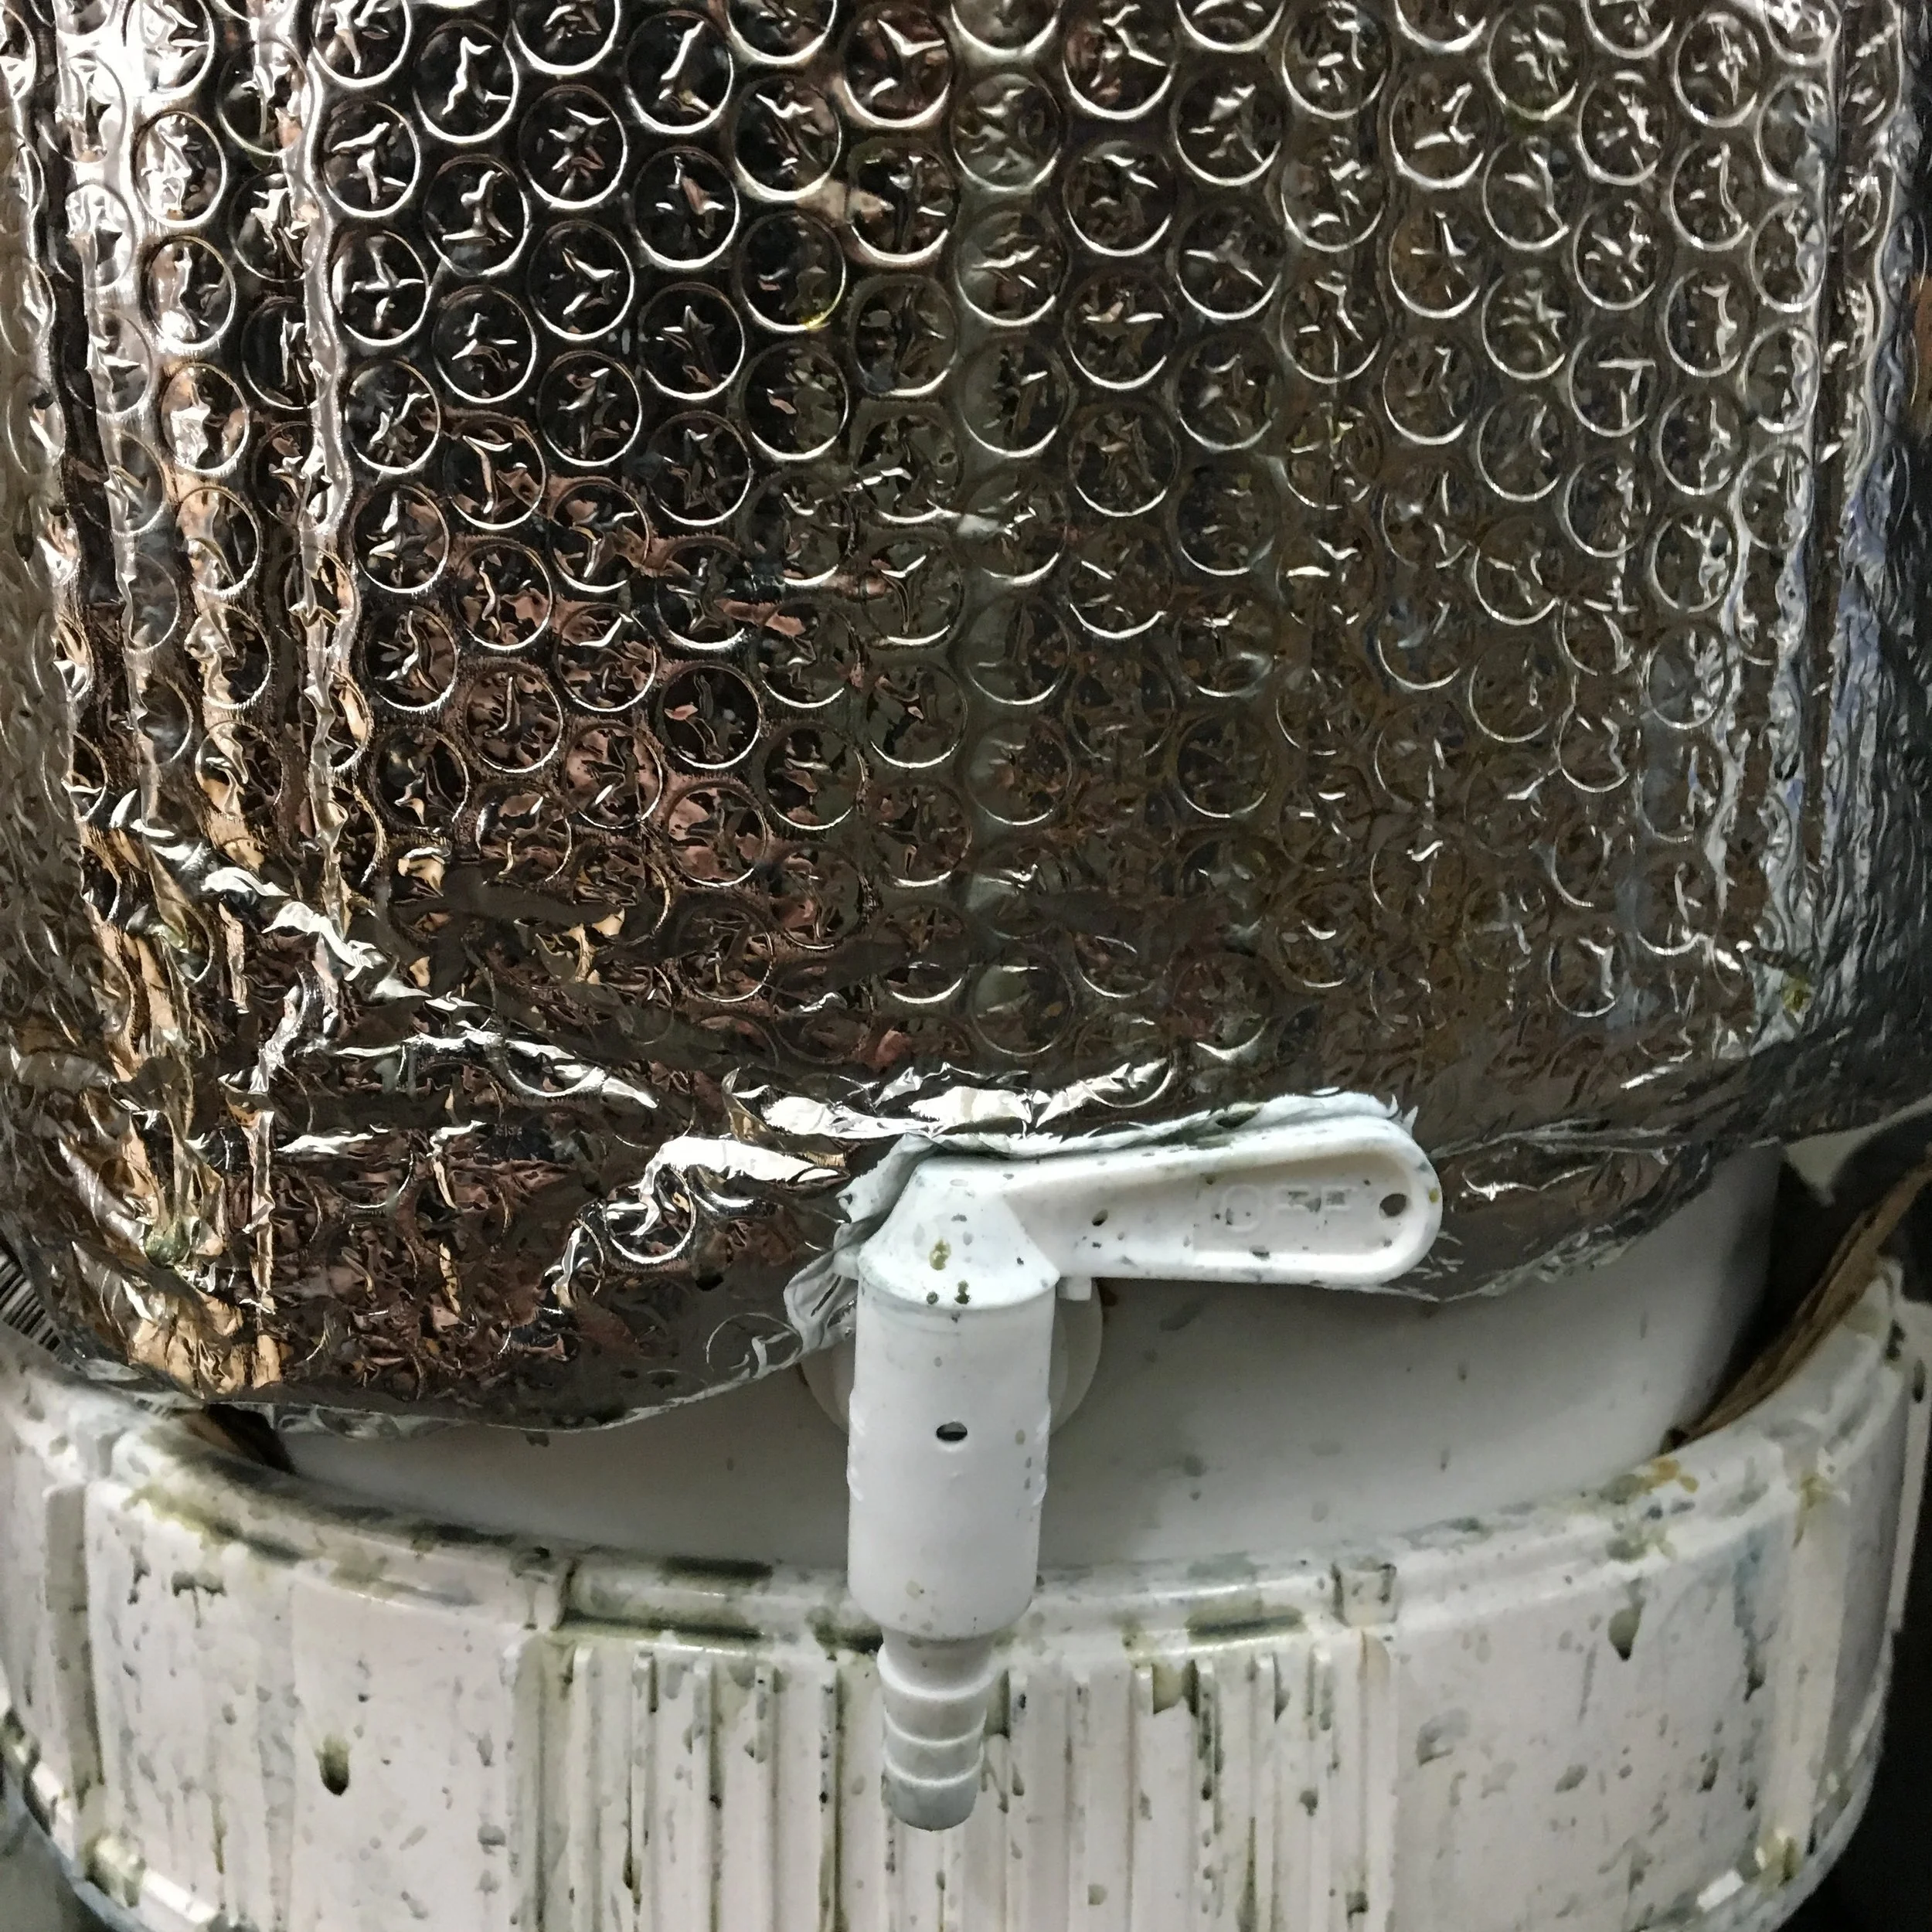
I use a 6-gallon bottling bucket made for home brewing. It has a spigot about 1.5" up from the bottom, so I can tap off the excess solids every so often. I re-heat this sludge and tease out more indigo in my small asparagus pot and then add it back to the larger vat.

I wrap the bucket with one of those auto windshield insulation things.

I wrap the bucket with one of those auto windshield insulation things.

I put a "Grit Guard" in the bottom to hold any fabric up from the solids that settle in the bottom 2" of the vat.

IMG_5368.jpg

Happy Indigo -ing!

140 Days: 140 indigo hankies are complete!

It took longer than I thought, however, they are finally done! My gratitude goes out to my friends and supporters who contributed hankies.

IMG_5220 copy.jpg

I've installed a third of them on my studio wall in order to make images to send to potential venues. I hope to have this project complete and in place for Mental Health Awareness month (April).

copyright 2018 Anna Carlson 140 days.jpg